 International
 Singapore
 Malaysia
 Thailand
 Vietnam
Không có sản phẩm trong giỏ hàng!

Microbit With Arduino IDE
- Hussien Jawhar Sathik
- 21 Dec 2021
- Tutorial
- 1085
Introduction
In this tutorial today, we would like to see how to program the micro:bit using Arduino ide. There are many other software which can be used to program the micro:bit, but today we would like to use the Arduino ide. Below is the video which demonstrate the steps before can use the Arduino ide to program the micro:bit
Video
Hardware Preparation
This is the list of items used in the video.
Circuit
No circuit is required since we will use the onboard micro:bit led array
Software
For the software we will need to install the Arduino IDE
Code
The code for this tutorial is as shown below
const int COL1 = 1;
const int LED = 9;

void setup() {
  Serial.begin(9600);

  Serial.println("microbit is ready");

  pinMode(COL1, OUTPUT);
  digitalWrite(COL1, LOW);

  pinMode(LED, OUTPUT);
  }

void loop() {
  Serial.println("blink");

  digitalWrite(LED, HIGH);
  delay(500);
  digitalWrite(LED, LOW);
  delay(500);
  }
Steps
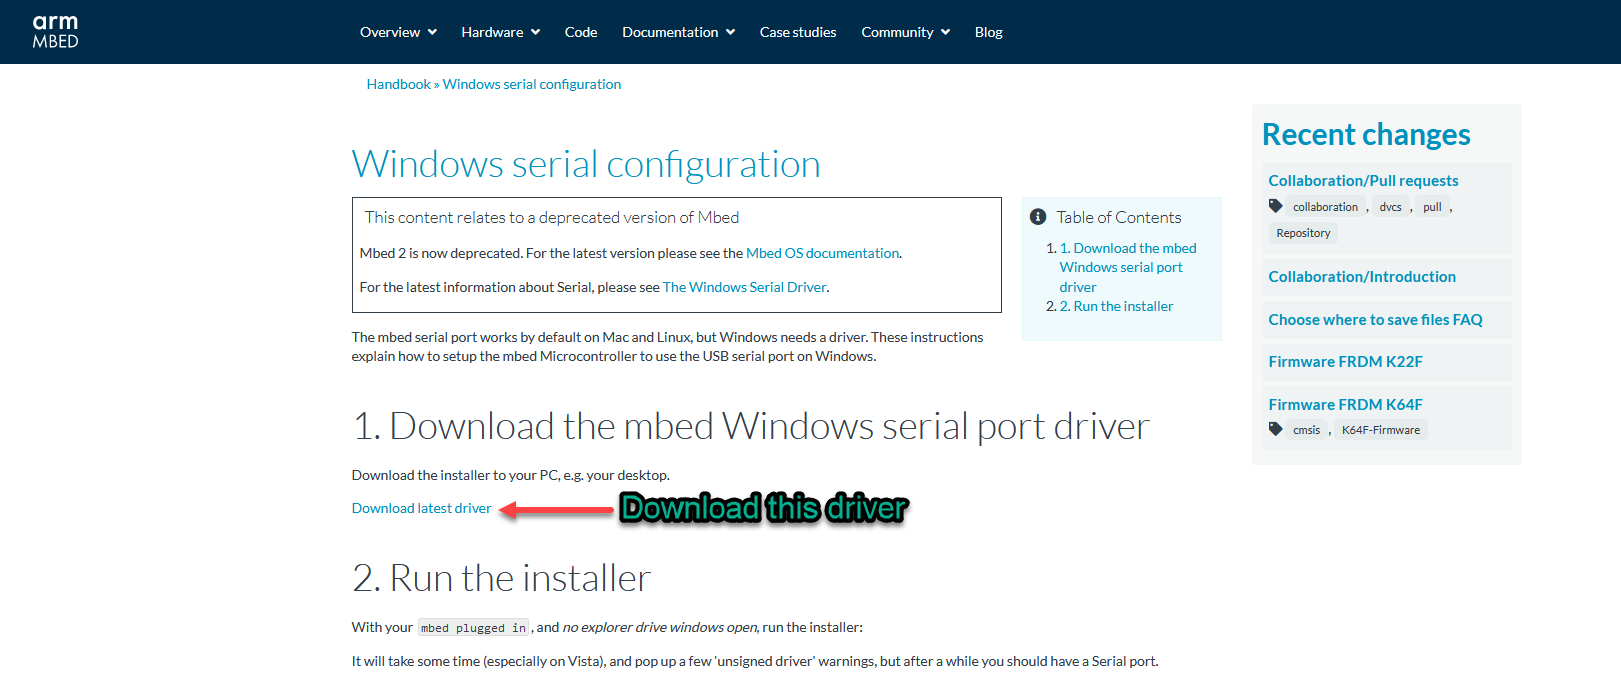
- The first step we will need to do is to install the mBed serial driver. This driver can be downloaded from here.
The installation process is straight forward. Just follow the steps.
2. The next step is to install the Arduino Ide. If you already installed it, you may skip this step. If not you may click here to download the software. The installation process is easy to follow. Just follow the instructions.
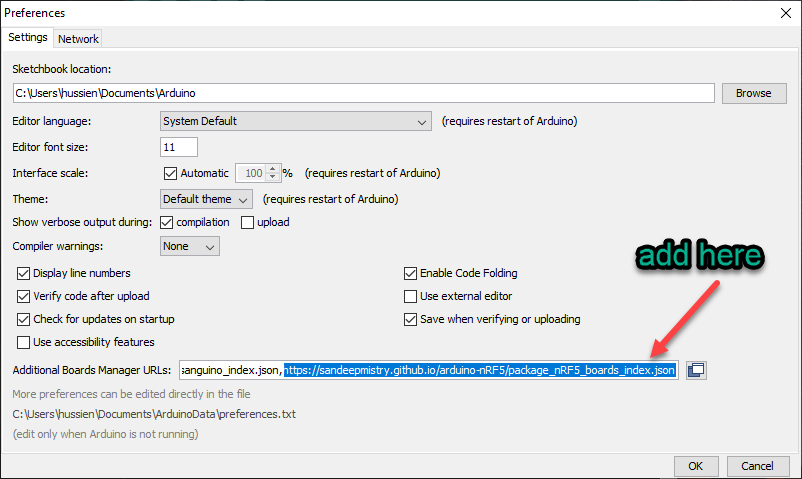
3. The third step is to add the nRF5 board to the Arduino ide. To do this, we need to add the following "
https://sandeepmistry.github.io/arduino-nRF5/package_nRF5_boards_index.json
" to the additional board manager. This is shown in the figure below
4. The next step is to download the board. For this go to the Tools --> Board --> Board Manager
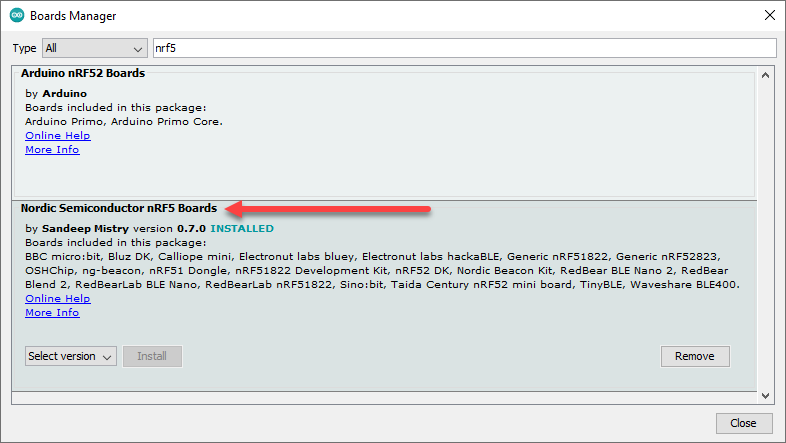
That are crucial step, before we will able to program the micro:bit using Arduino ide. Now we are ready to program our micro:bit.
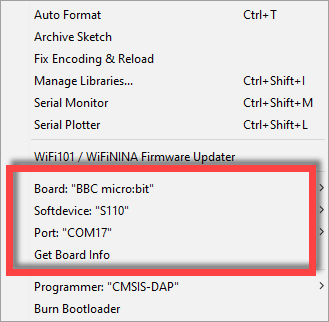
5. Now go to Tools --> and choose BBC Microbit. For the softdevice choose "S110" and for the port, choose the corresponding port.

Thank You
References:
- https://github.com/sandeepmistry/arduino-nRF5#installing
Thanks for reading this tutorial. If you have any technical inquiries, please post at Cytron Technical Forum.
"Please be reminded, this tutorial is prepared for you to try and learn.
You are encouraged to improve the code for a better application."