 International
 Singapore
 Malaysia
 Thailand
 Vietnam
Không có sản phẩm trong giỏ hàng!

DIY Interactive Robot using REKA:BIT with micro:bit | Tutorial for Beginners
- Abdulrahman Alhamed
- 22 Oct 2021
- 1344
This awesome robot involves using servo motors, DC motors, LEDs, and a potentiometer. Other than that, the robot will help you to be familiar with most of the MicroBit sensors such as sound sensor, light sensor, and temperature sensors.
Video Tutorail
Step 1: Components and Tools
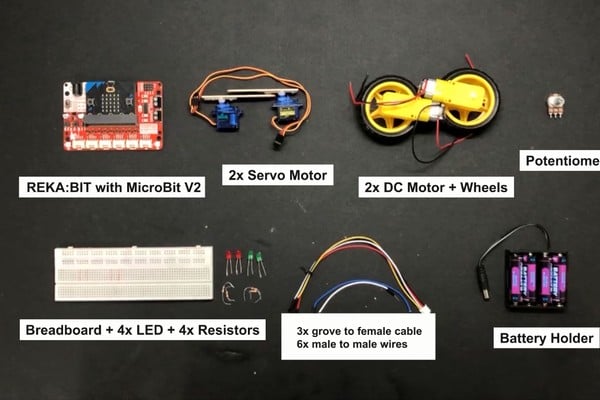
Electrical Components Required:
- 1x REKA:BIT board with MicroBit v2 (Notice we're using MicroBit v2 in order to work with its sound & touch sensors)
- 2x Servo motors attached to ice cream sticks
- 2x TT Motor + Wheel Kit
- 1x Potential Meter 10K
- 4x LED
- 4x Resistors (the resistance value can be ranged from 100Ω to 2kΩ)
- 3x Grove to female cable
- 6x Male to male wires
- Battery holder
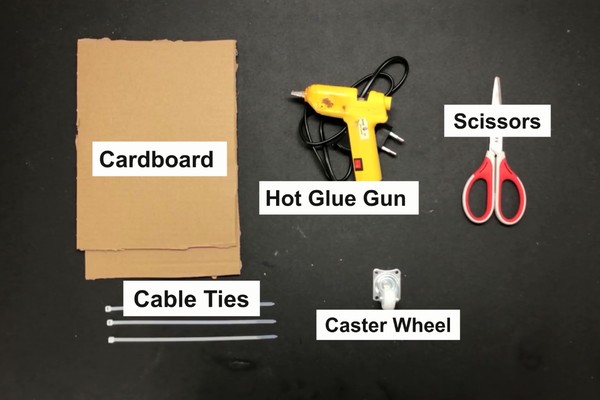
Tools Required:
- Breadboard
- Cardboard
- Hot Glue Gun
- Scissor
- Cable ties
- Ball Universal Wheel (Castor)
Step 2: Use Cardboard to Make the Robot Body
Cut the cardboard to the dimensions shown in figure 1 |  |
|
Use the glue gun to attach the right side | 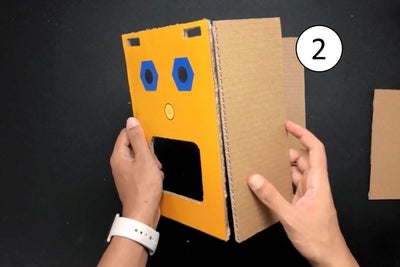 |
|
Use the glue gun to attach the left side | 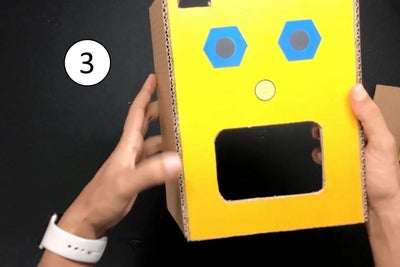 |
Attach the breadboard holder as shown in figure 4 |  |
|
Make sure to leave a little space for the ease of wire connection |  |
Step 3: Connection
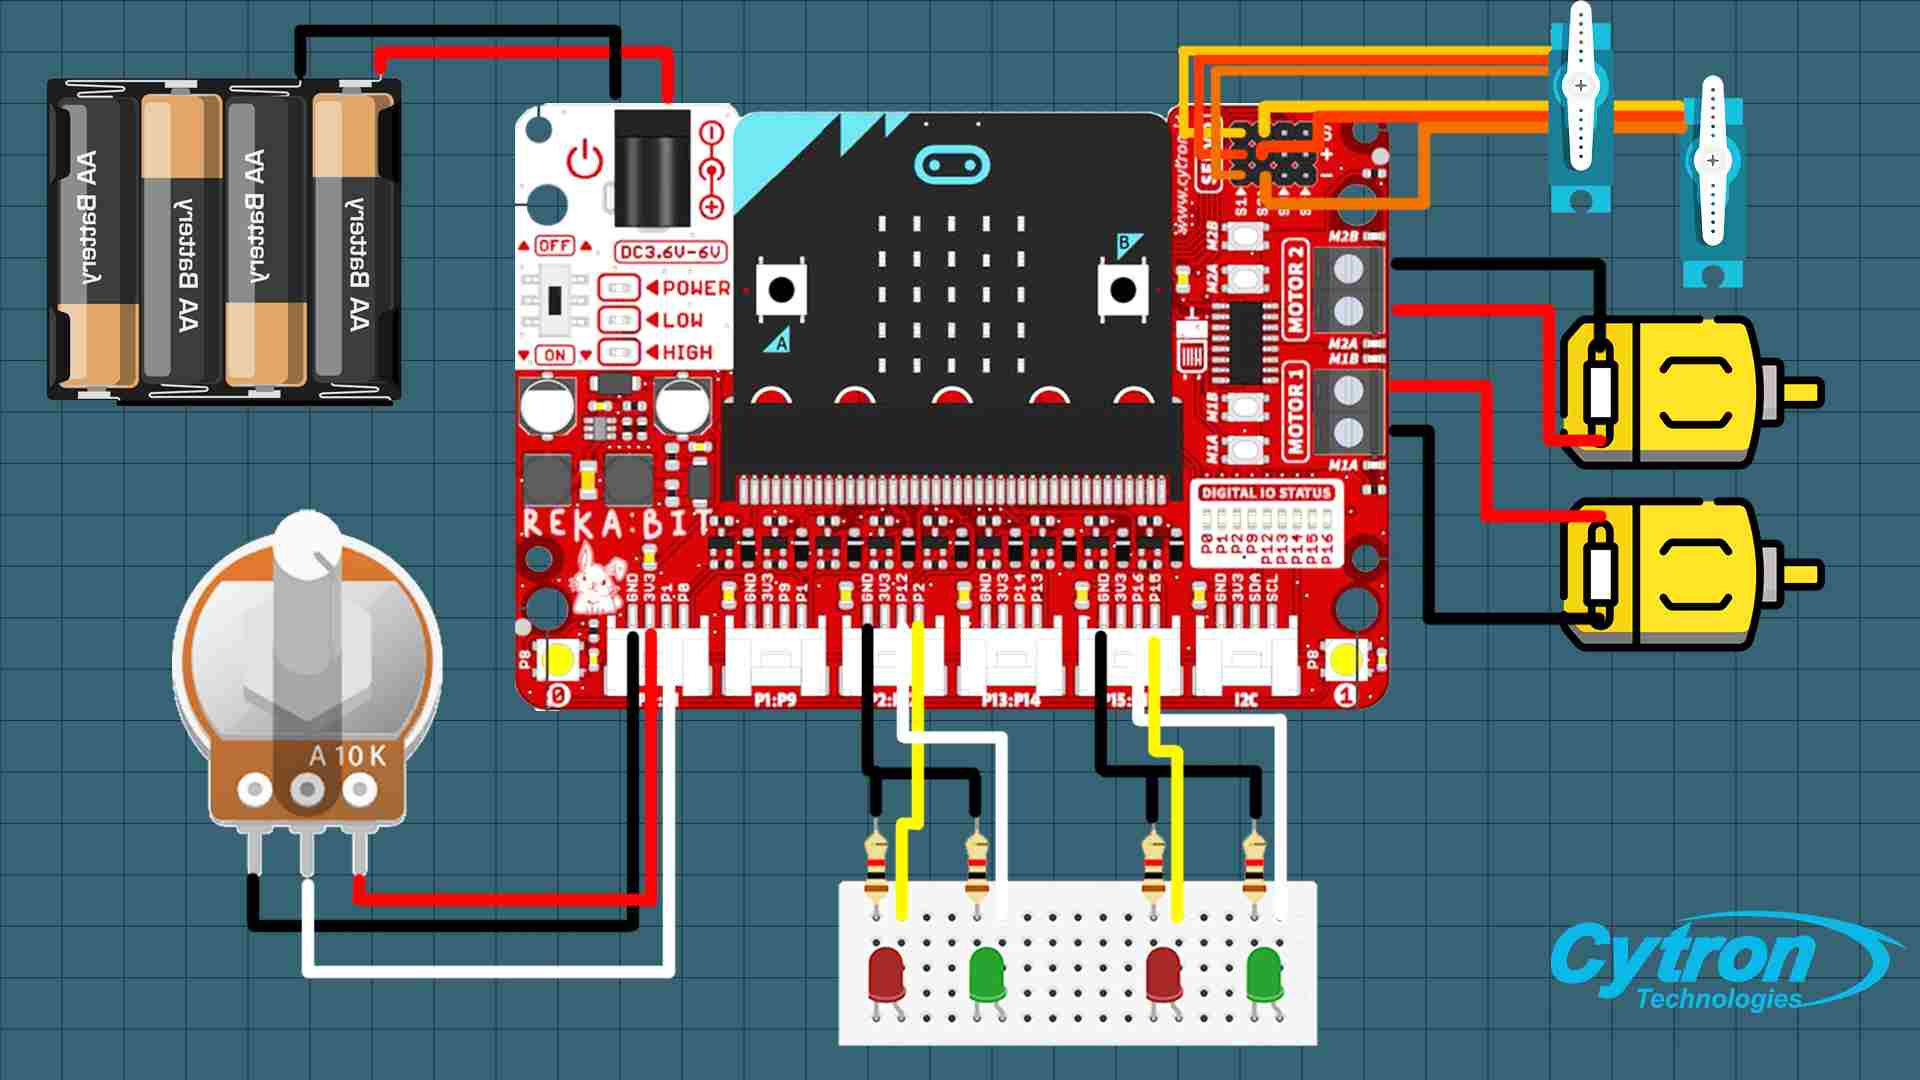
- The first grove port of REKA:BIT will be connected to the potentiometer
- Connect LEDs to the breadboard, where: The long leg (Anode) should be connected to the output pin. The short leg (Cathode) should be connected to a resistor, and the resistor will be connected to the ground pin. After that, connect the female wires coming from the grove port to the male wires on the breadboard
- Connect both servo motors to the servo ports number 1 and 2
- Connect the DC motors to their terminals
Step 4: Attach Components to Cardboard
| Insert the potentiometer in the middle | 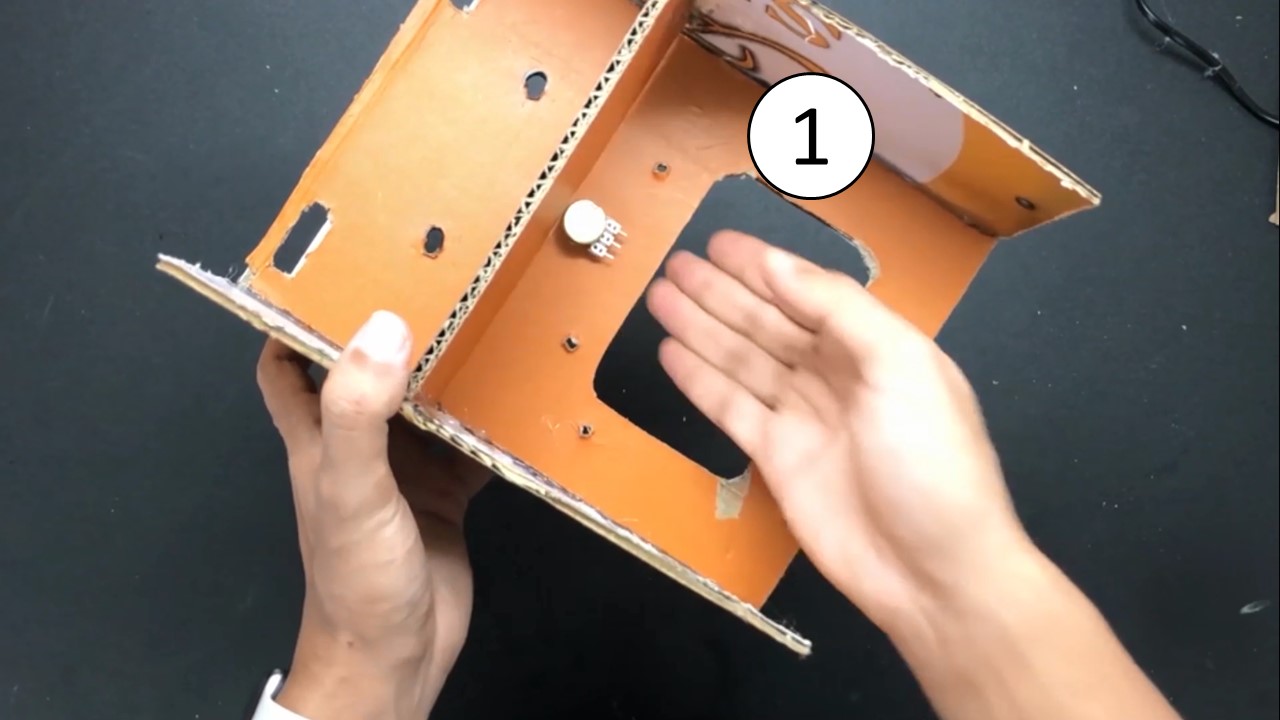 |
| Place the breadboard over the cardboard piece | 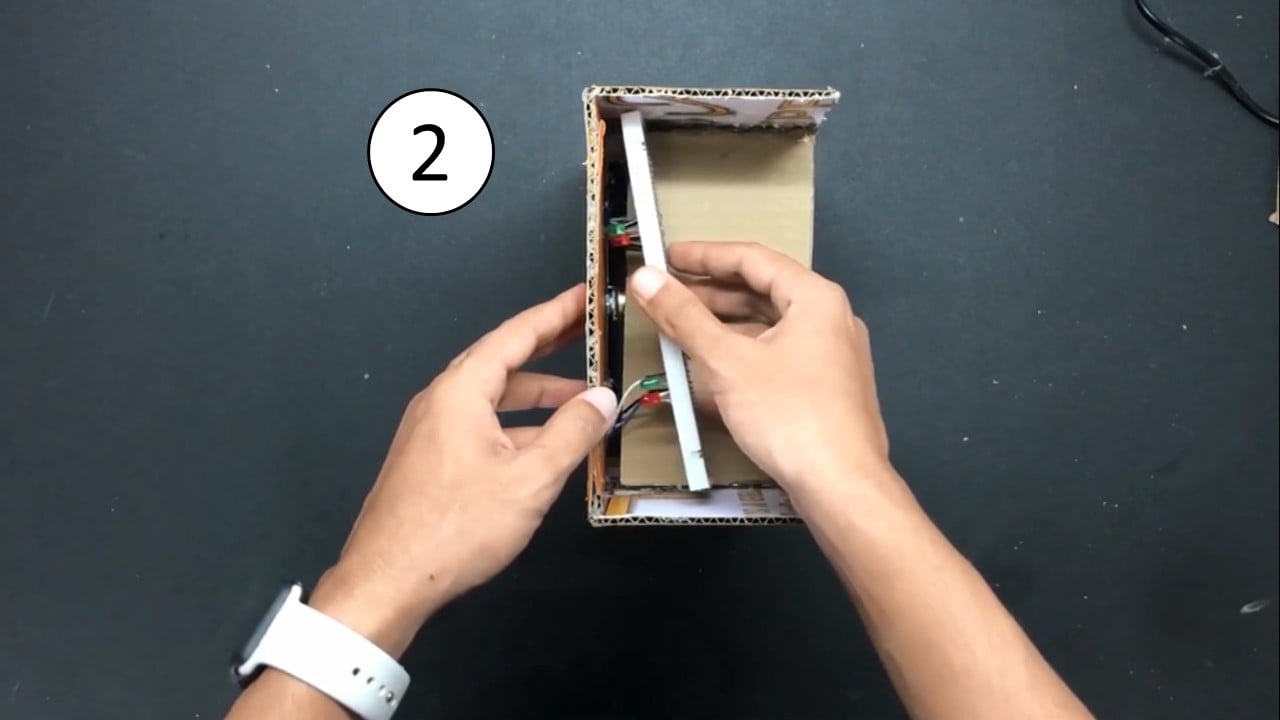 |
| Attach servo motors | 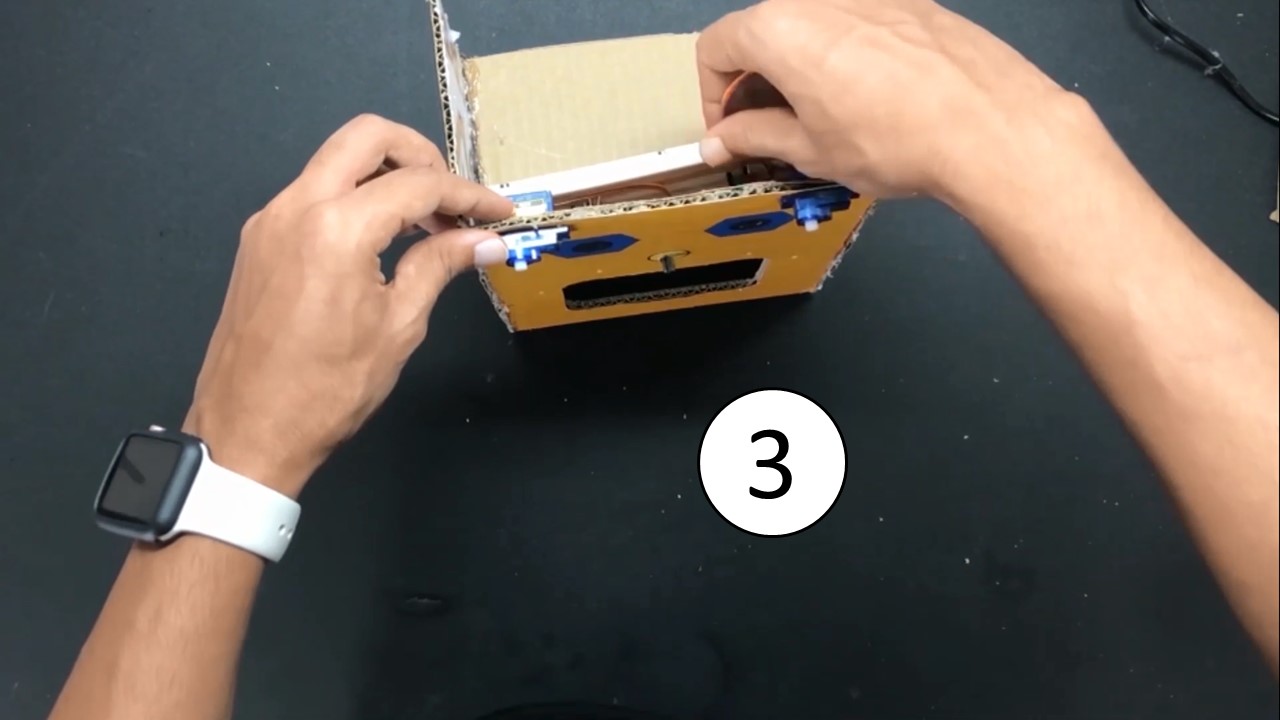 |
| Place DC motors on the bottom sides | 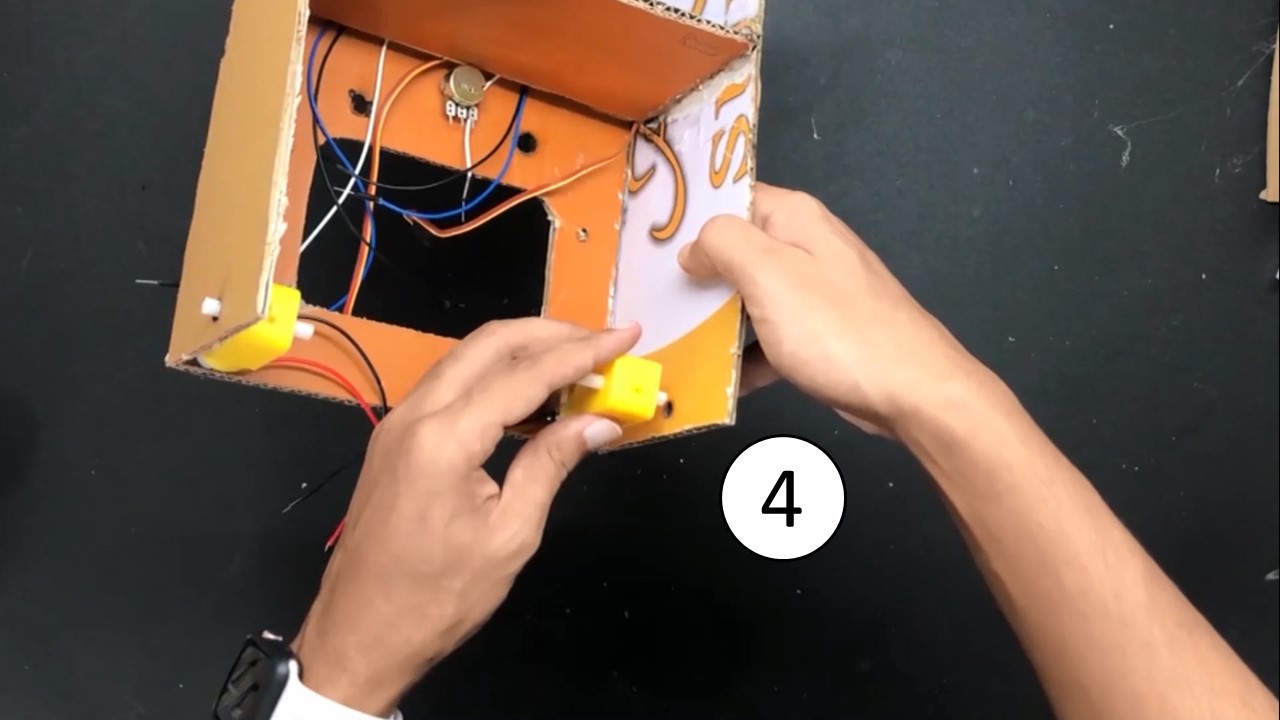 |
| Attach REKA:BIT and fix it using cable ties | 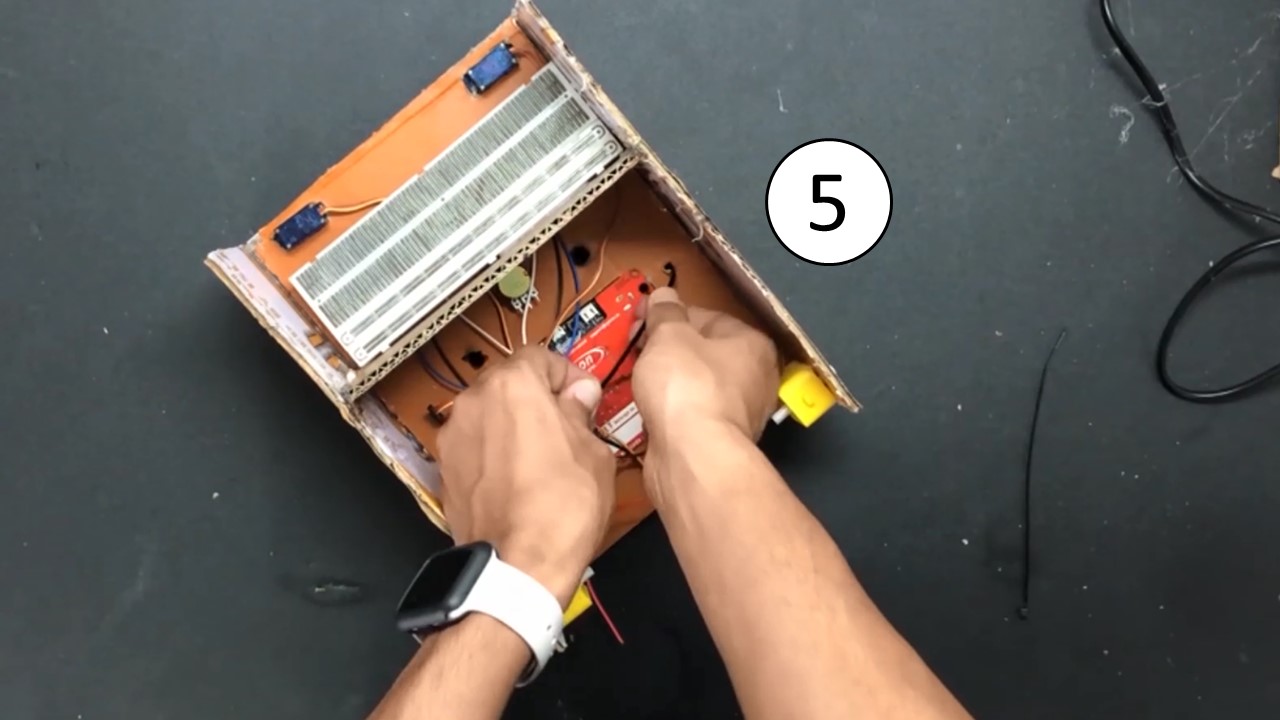 |
| Insert the caster wheel into a piece of cardboard and place it at the bottom | 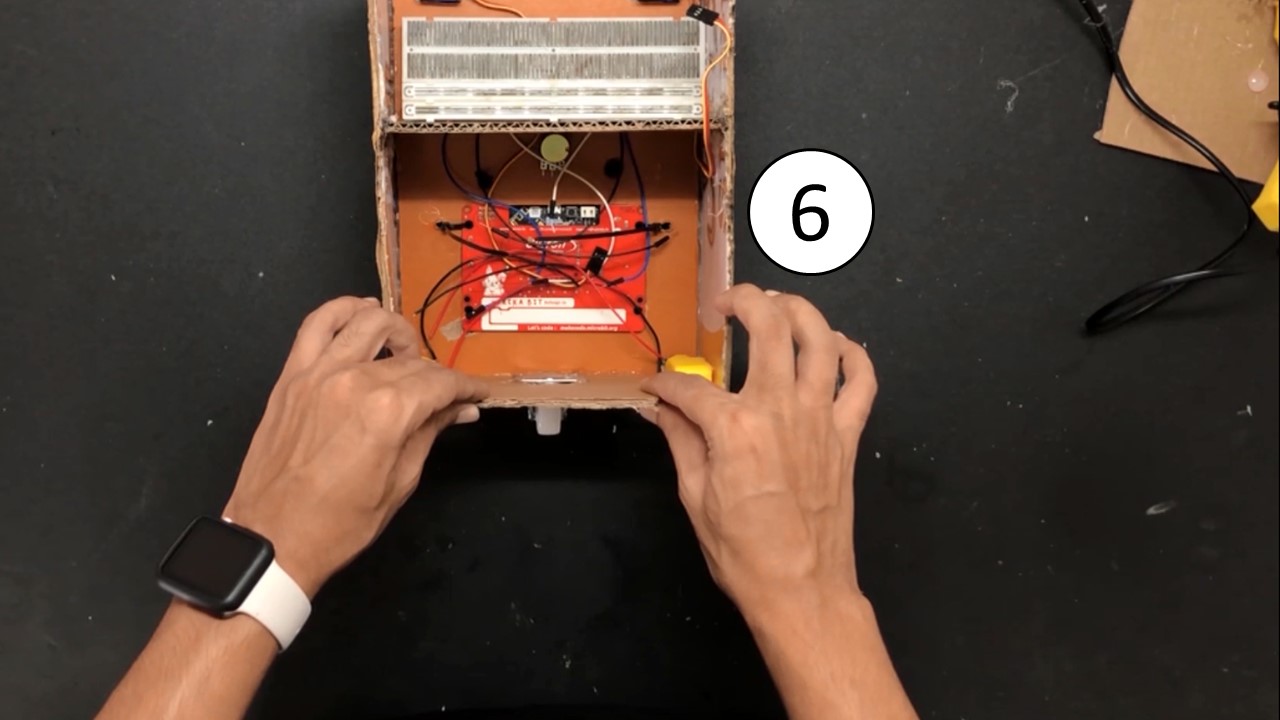 |
| Place the battery holder over the cardboard piece | 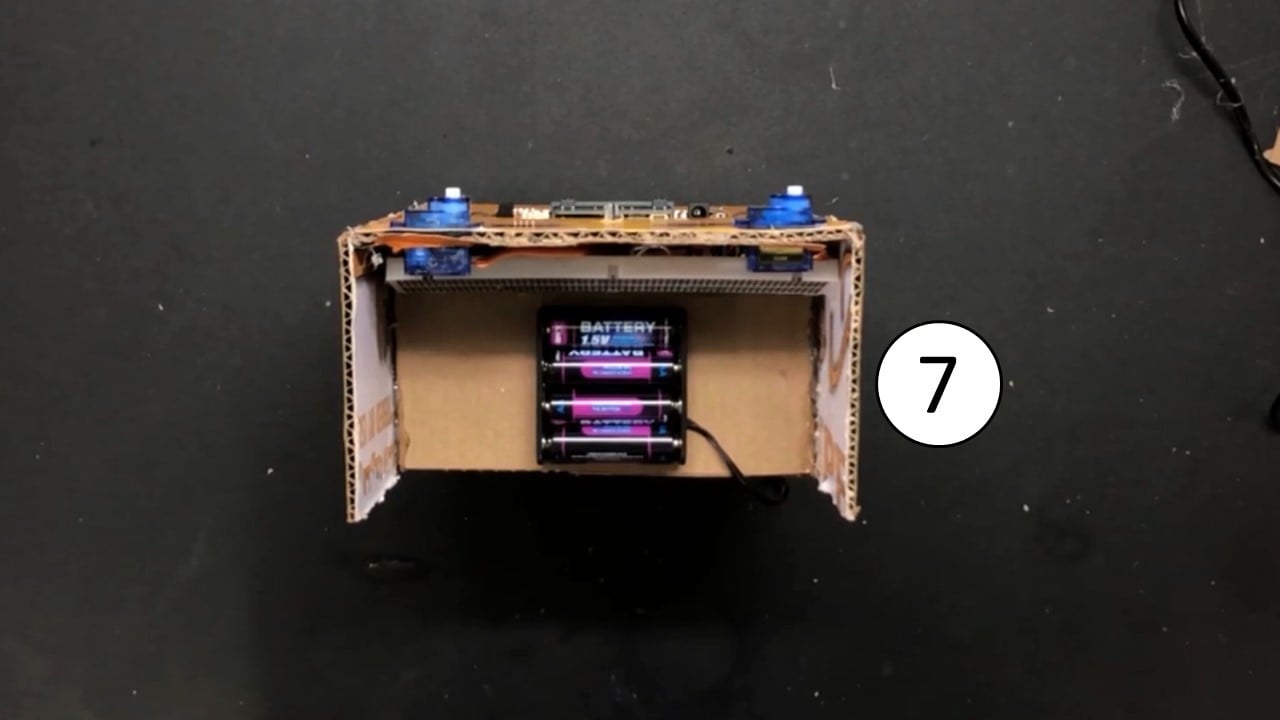 |
| Make the circuit connection as shown in the previous step | 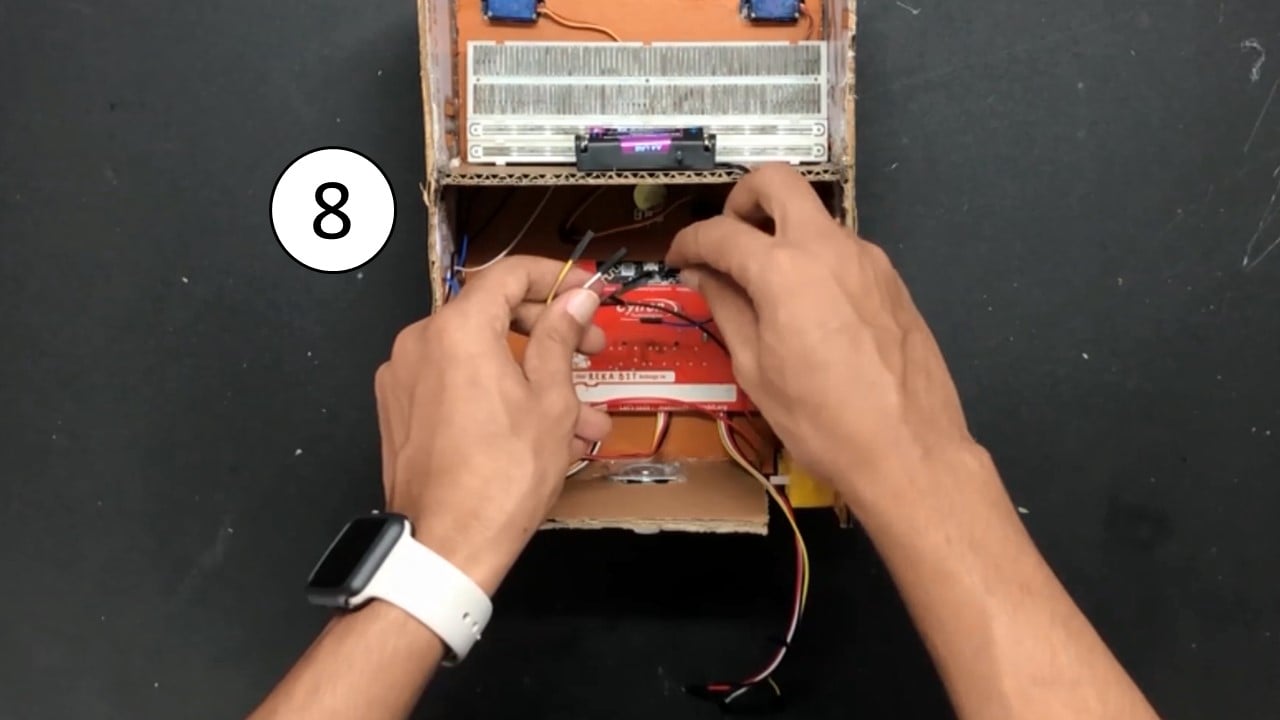 |
| Attach the ice cream sticks to servo motors | 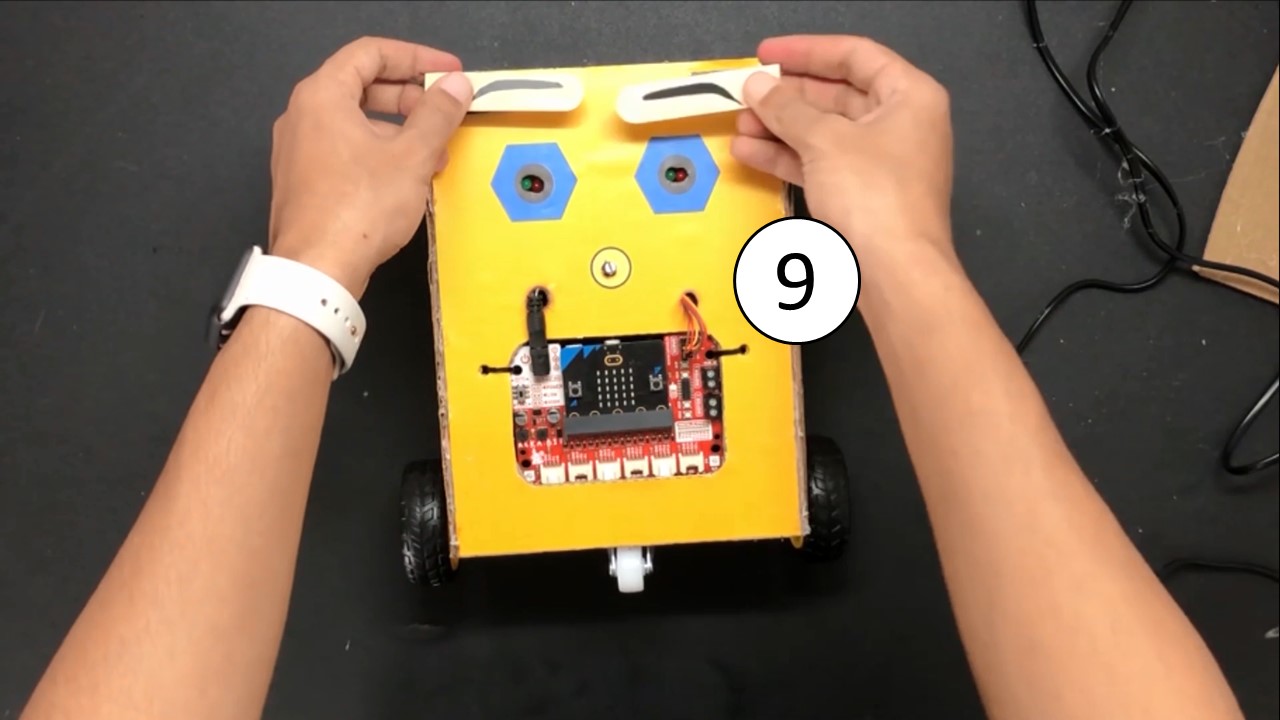 |
| Close the top side with a cardboard piece | 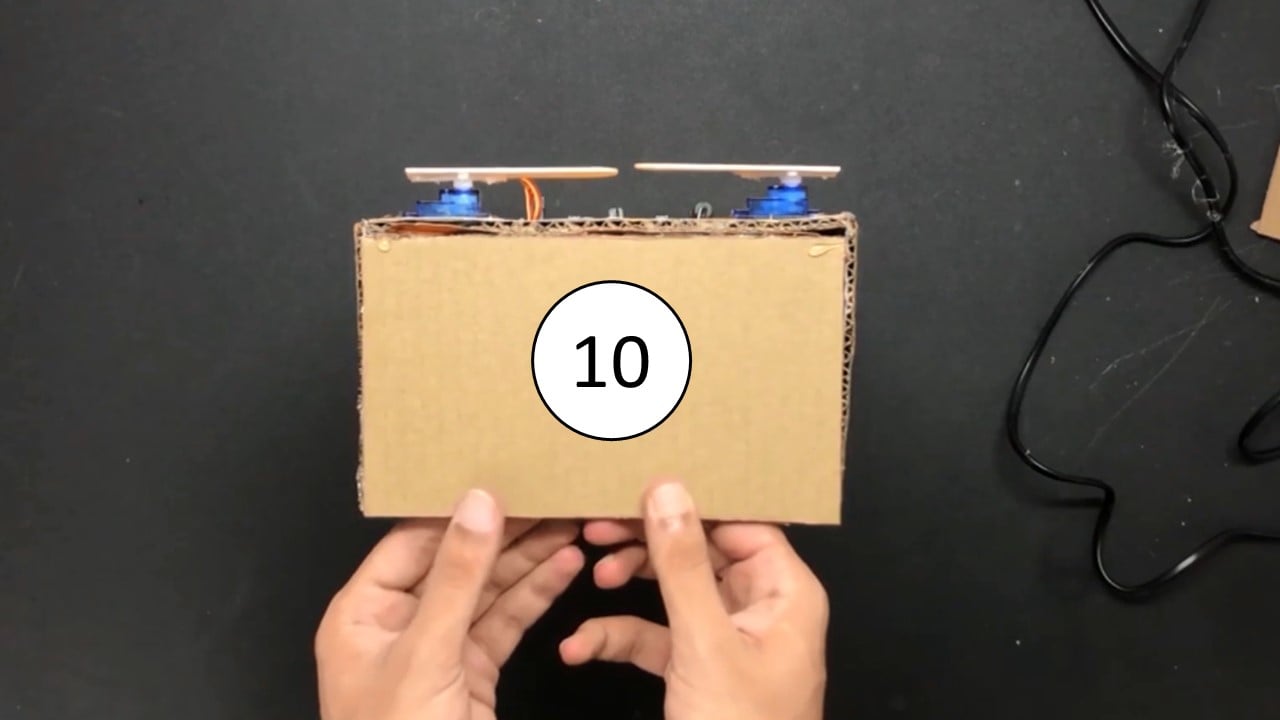 |
Step 5: Code

Now, connect the MicroBit to your device and open MakeCode editor to start programming.
- Add REKA:BIT extension and follow the code block in the picture above
- After completing the code block, download it and compile it over REKA:BIT
You can also view and edit the code by clicking here!
Well Done!
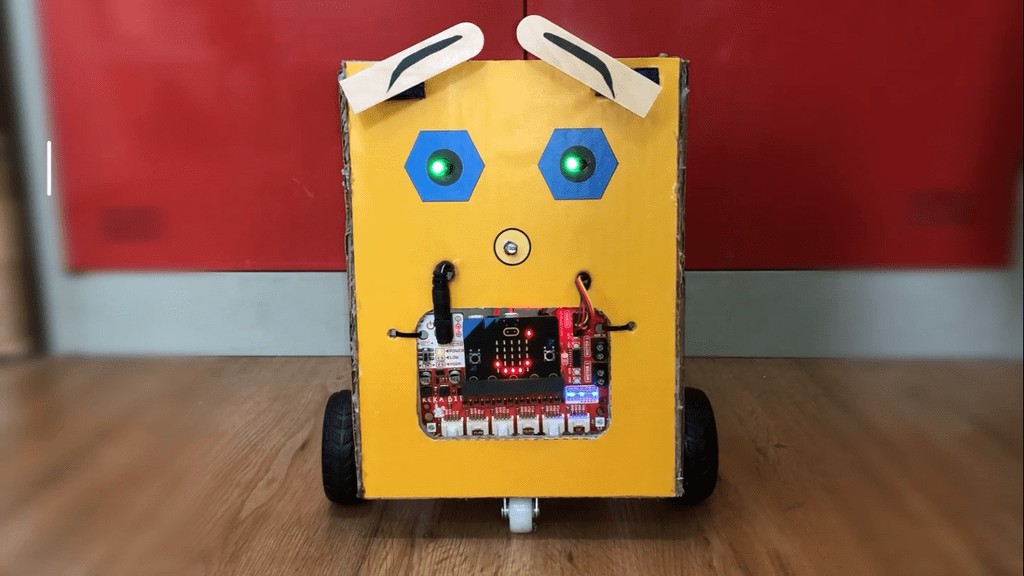
Awesome! the interactive robot is ready to go.
Turn on REKA:BIT and enjoy having fun with it.
Don't forget to show your cool robot to your friends!
Related Products

TT Motor with Wheel Kits
Không có sẵn
x 1 đơn vị
 - Simplifying Robotics with micro:bit")
REKA:BIT (with micro:bit V2 included) - Simplif...
Không có sẵn
x 1 đơn vị
")
mBot N20 Vacuum Steel Ball Universal Wheel (Cas...
Không có sẵn
x 1 đơn vị

SG90 Micro Servo
Không có sẵn
x 1 đơn vị
-268x268.jpg "Breadboard 16.5x5.5cm (830 Holes)")
Breadboard 16.5x5.5cm (830 Holes)
Không có sẵn
x 1 đơn vị

Potential Meter 10K
Không có sẵn
x 1 đơn vị